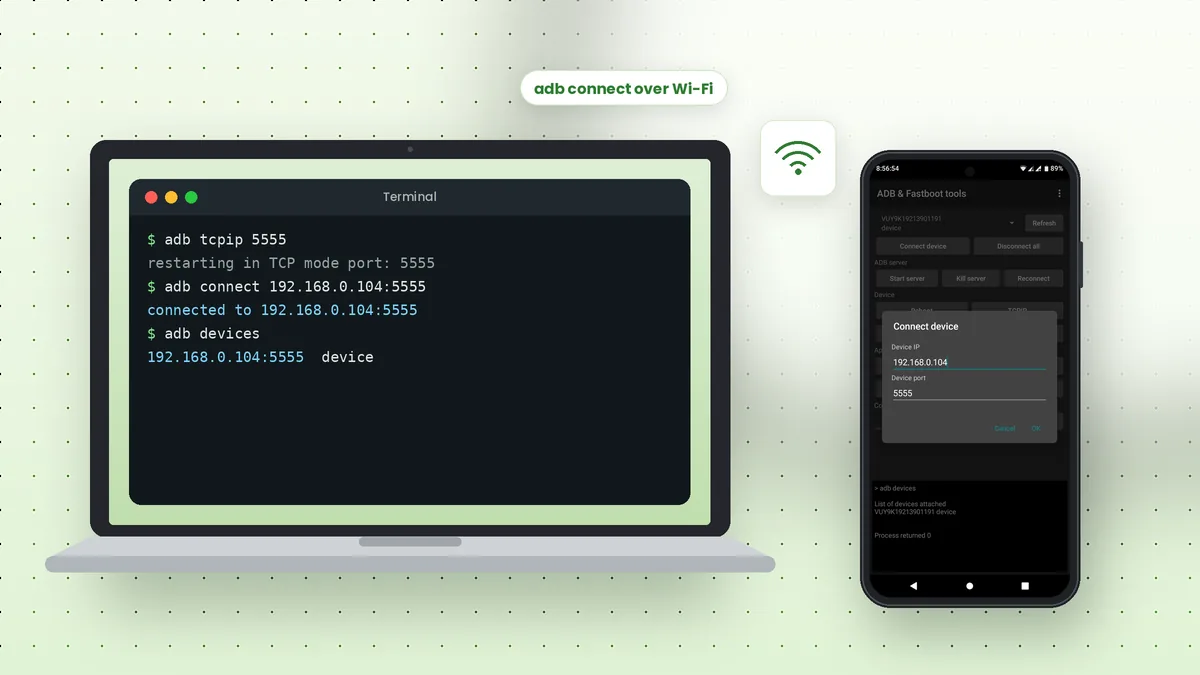
ADB over Wi-Fi lets you run every Android Debug Bridge command without a USB cable, which is handy when the port is busy charging, when testing on a device across the room or when your cable keeps disconnecting. Two methods exist, depending on your Android version.
Which Method Should You Use?
Android 11 introduced Wireless debugging, a built-in option that pairs your computer with a code. Older Android versions use the TCP/IP method, which needs one short USB connection first.
| Method | Android version | USB needed first? |
|---|---|---|
| Wireless debugging pairing | Android 11 and newer | No |
| adb tcpip | Older versions, and newer ones too | Yes, once |
Both methods require the computer and the phone to be on the same local network. Public or guest Wi-Fi networks often block device-to-device traffic, so a home or office network works best.
Method One: Wireless Debugging Pairing
Make sure your platform-tools package is recent, because older ADB versions lack the pair command. Then open Settings on the phone, go to Developer options and switch on Wireless debugging.
Tap Wireless debugging, then tap Pair device with pairing code. The phone shows a six-digit code and an IP address with a port, such as 192.168.0.104:37115.
Pair and Connect from the Computer
Run the pair command with the address shown on the pairing screen, then type the code when asked. The phone confirms the pairing and lists your computer under Paired devices.
adb pair 192.168.0.104:37115
adb connect 192.168.0.104:41827
The connect command uses a different port: the one shown on the main Wireless debugging screen, not the pairing port. After that, adb devices lists the phone by its IP address and port.
Method Two: The adb tcpip Command
Connect the phone by USB, confirm it appears in adb devices, then switch ADB on the phone into TCP mode on port 5555.
adb tcpip 5555
Find the phone's IP address under Settings, then About phone and Status, or in the details of your Wi-Fi network. Unplug the cable and connect using that address.
adb connect 192.168.0.104:5555
Confirm the Wireless Connection
Run adb devices to confirm. The phone stays in TCP mode until it restarts, after which you repeat the tcpip step with a cable.
Disconnecting and Switching Back to USB
Ending a wireless session is just as quick. You can disconnect one device or every wireless device at once.
adb disconnect 192.168.0.104:5555disconnects one deviceadb disconnectdisconnects all wireless devicesadb usbrestarts ADB on the phone in USB mode
Finding Your Phone's IP Address
Both methods need the phone's local IP address. Android shows it in more than one place, and the exact menu names vary a little between brands.
| Where to look | Path on most phones |
|---|---|
| Wireless debugging screen | Developer options, then Wireless debugging |
| Phone status | Settings, About phone, Status information |
| Wi-Fi details | Settings, Wi-Fi, then the gear icon next to your network |
Addresses on home networks usually start with 192.168 or 10. If the phone's address changes after a restart, update the address in your adb connect command to match.
Using Wireless ADB with Several Devices
Each wireless device appears in adb devices as its IP address and port. Target one with the -s option, exactly as you would with a USB serial number.
adb -s 192.168.0.104:5555 install app.apk
For steadier sessions, keep the router close, prefer a 5 GHz network when available and avoid large file transfers over weak signals. USB remains faster for big pushes and pulls.
Wireless Debugging vs USB: Which Is Better?
Each connection type has strengths. Choosing well depends on what you are doing and how long the session will last.
| Factor | Wi-Fi | USB |
|---|---|---|
| Convenience | No cable, phone moves freely | Needs a cable within reach |
| Speed for big files | Depends on network quality | Usually faster and steadier |
| Setup after restart | Pair again or repeat tcpip | Works as soon as it is plugged in |
| Charging | Battery drains during use | Phone charges while connected |
For quick app installs, screenshots and logcat checks, Wi-Fi works well. For large backups or long debugging sessions, a good USB cable remains the more dependable option.
Fixing Wireless Connection Problems
Most wireless issues come from network settings rather than ADB itself. Work through these checks when a connection fails or keeps dropping.
- Confirm both devices use the same Wi-Fi network and subnet
- Use the connect port, not the pairing port, after pairing
- Keep the phone unlocked; some phones pause Wi-Fi when the screen is off
- Update platform-tools if
adb pairis not recognised - Check firewall or VPN software that may block local connections
- Restart the ADB server with
adb kill-serverand connect again
The ports used by Wireless debugging change each time you toggle it, so read them again from the phone screen rather than reusing old numbers.
Wireless debugging lets anyone on the same network attempt a connection to a paired setup. Turn it off when you finish, especially on shared networks.
Doing It from Another Phone
The android-adb-tools app on GitHub includes a Connect device dialog where you type an IP address and port, such as 5555, letting a rooted phone act as the ADB host over Wi-Fi.
Reconnecting After a Restart
Wireless sessions do not survive a phone restart. With Wireless debugging, previously paired computers usually reconnect with only the adb connect step, though the port may have changed, so read it again from the phone screen.
With the TCP/IP method, the phone returns to USB mode after restarting. Connect the cable once more, run adb tcpip 5555, then unplug and use adb connect as before. Saving these commands in a small script or batch file makes the routine quick, and it also documents the exact IP address and port you used last time.
Conclusion
ADB over Wi-Fi works through pairing on Android 11 and newer, or through adb tcpip 5555 after one USB connection on any version. Either way, adb connect with the right IP and port gets you back to full control without a cable.
Every command from the ADB commands list runs the same over Wi-Fi, so your usual workflow carries straight over.
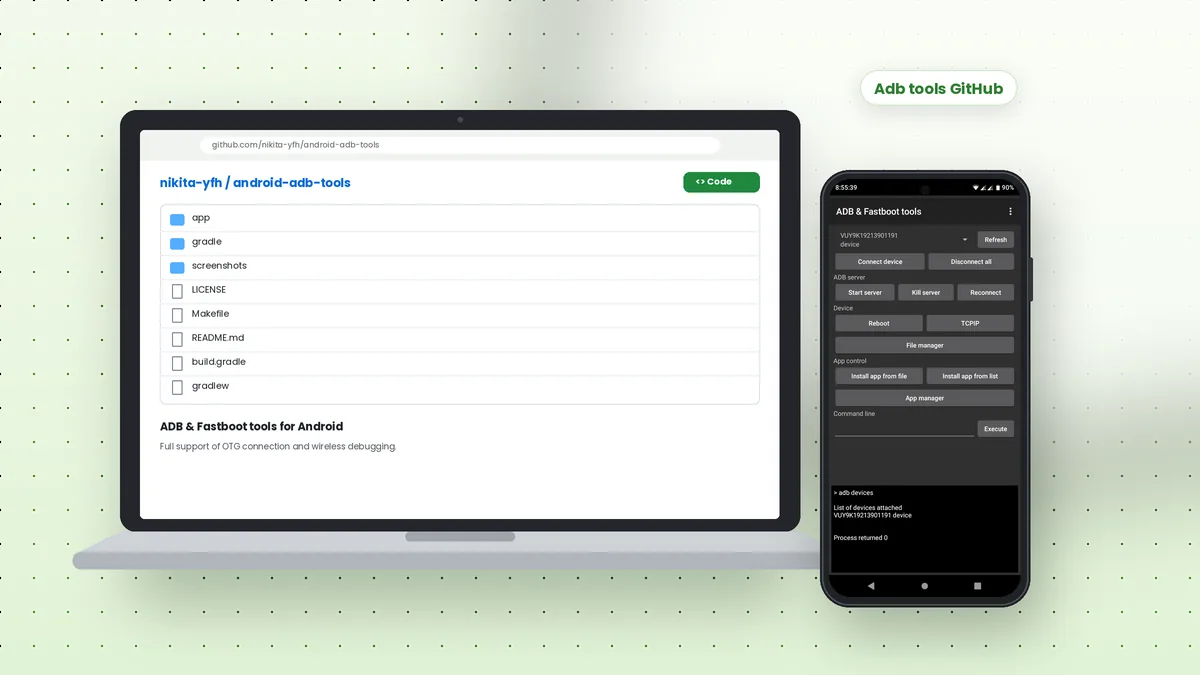 Adb Tools GitHub: Android ADB and Fastboot App Overview
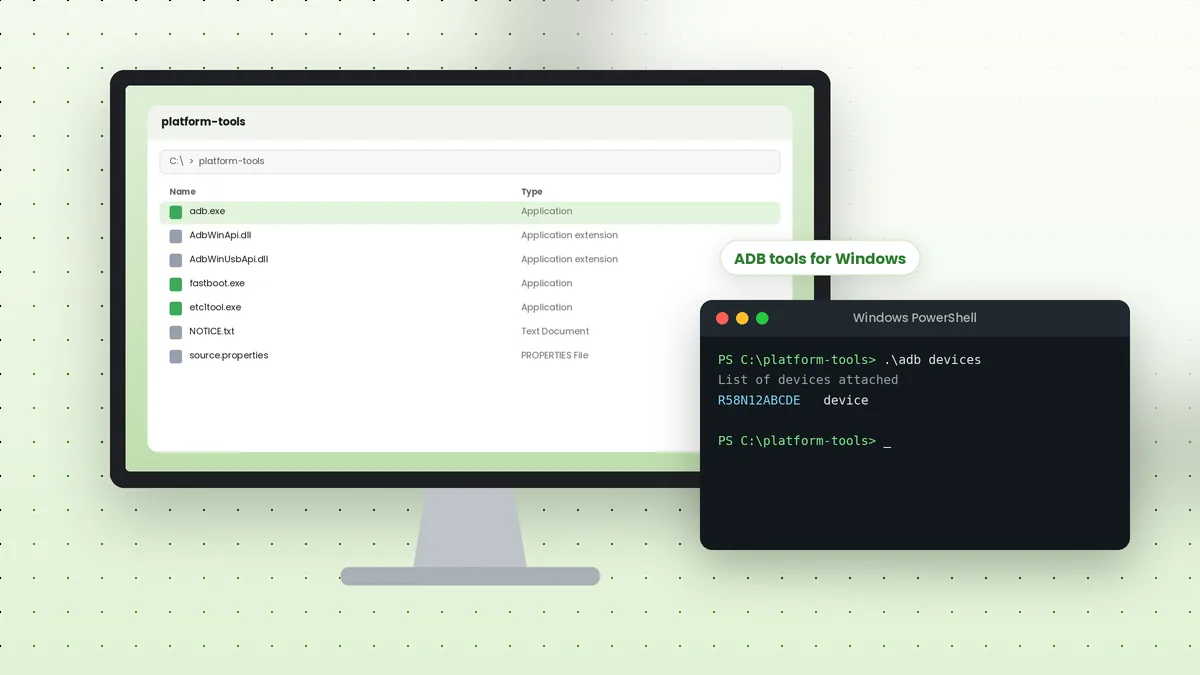 ADB Tools Download for Windows: Complete Setup Walkthrough
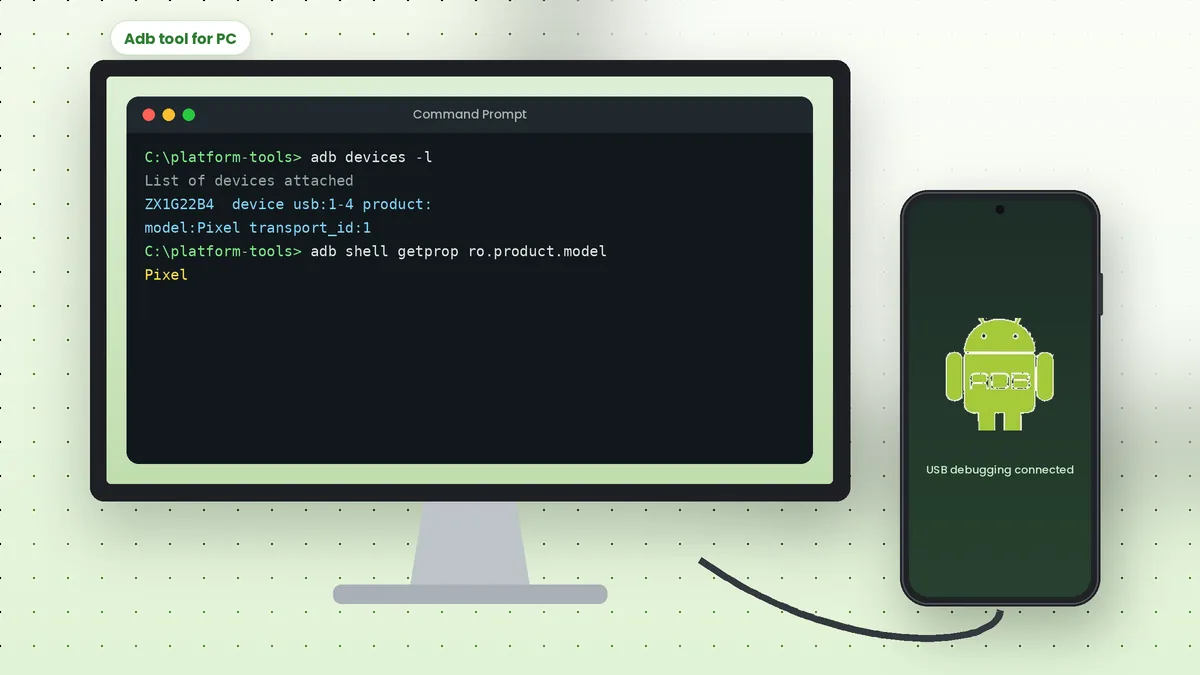 Adb Tool for PC: Connect Your Android Phone to a Computer