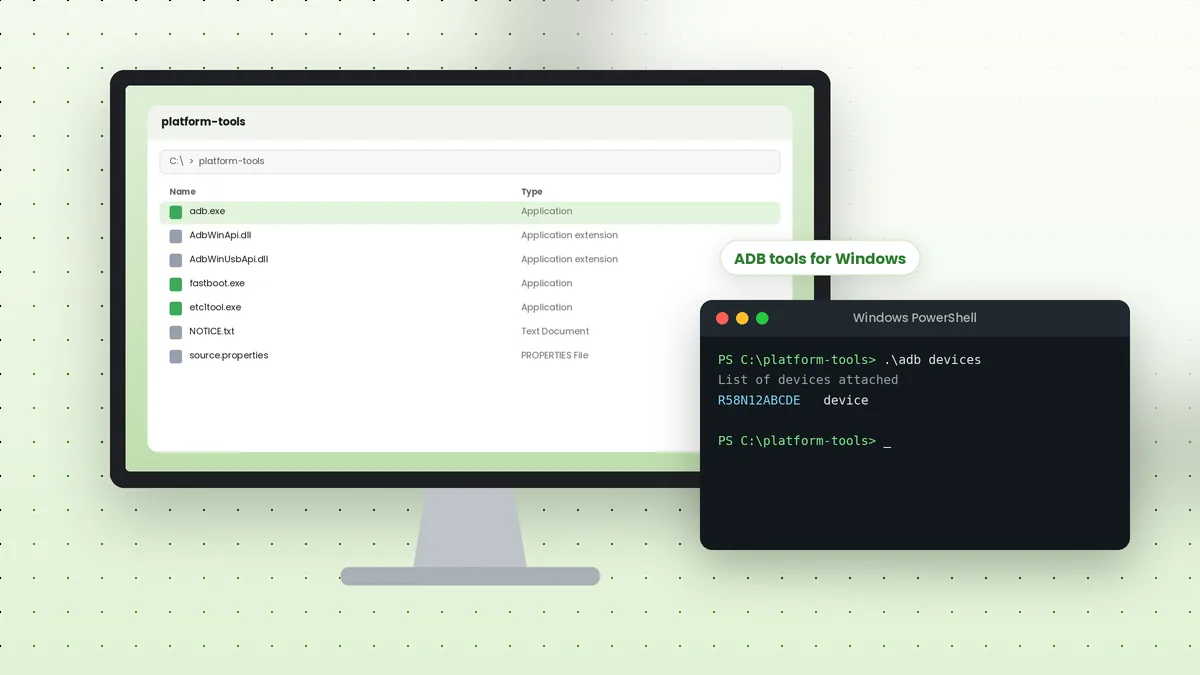
ADB tools download for Windows starts with a single ZIP archive from Google called SDK Platform-Tools. It contains adb.exe, fastboot.exe and the supporting DLL files, and it does not need a full Android Studio installation, which keeps the setup light and quick on any Windows PC.
What You Need Before Starting
A few basics make the process smooth. Gather these before downloading anything, so you can test the connection right away.
- A Windows PC with permission to extract files and edit environment variables
- A good quality USB data cable, not a charge-only cable
- Your Android phone with Developer options available
- The correct USB driver for your phone brand, where required
Download the Platform-Tools ZIP
Google publishes the latest Windows package at a stable link, so the file you download is always the current release. Save it to your Downloads folder or directly into a folder you plan to keep.
https://dl.google.com/android/repository/platform-tools-latest-windows.zip
You can also reach the same package from the download section on our homepage. Avoid repackaged installers from unknown sites, since the original archive is small and easy to verify.
Extract the Files to a Permanent Folder
Right-click the ZIP and choose Extract All. A simple path such as C:\platform-tools works well, because it is short, easy to type and free of spaces that complicate commands.
After extraction, the folder holds adb.exe, fastboot.exe, AdbWinApi.dll, AdbWinUsbApi.dll and a few other files. Keep them together; moving adb.exe alone breaks it.
Install the USB Driver
Windows needs a driver to talk to your phone in ADB mode. Pixel and Nexus phones use the Google USB Driver, while most other brands provide their own driver package on their support websites.
| Phone brand | Driver source |
|---|---|
| Google Pixel | Google USB Driver from the Android developer site |
| Samsung Galaxy | Samsung Android USB Driver for Windows |
| Other brands | The manufacturer's support or developer page |
Add ADB to the Windows PATH
Adding the folder to PATH lets you type adb from any terminal window. Open Start, search for "Edit the system environment variables", click Environment Variables, select Path under your user variables and add C:\platform-tools.
Close and reopen Command Prompt or PowerShell after saving. Running adb version from any folder should now print the installed version instead of an error.
Enable USB Debugging on Your Phone
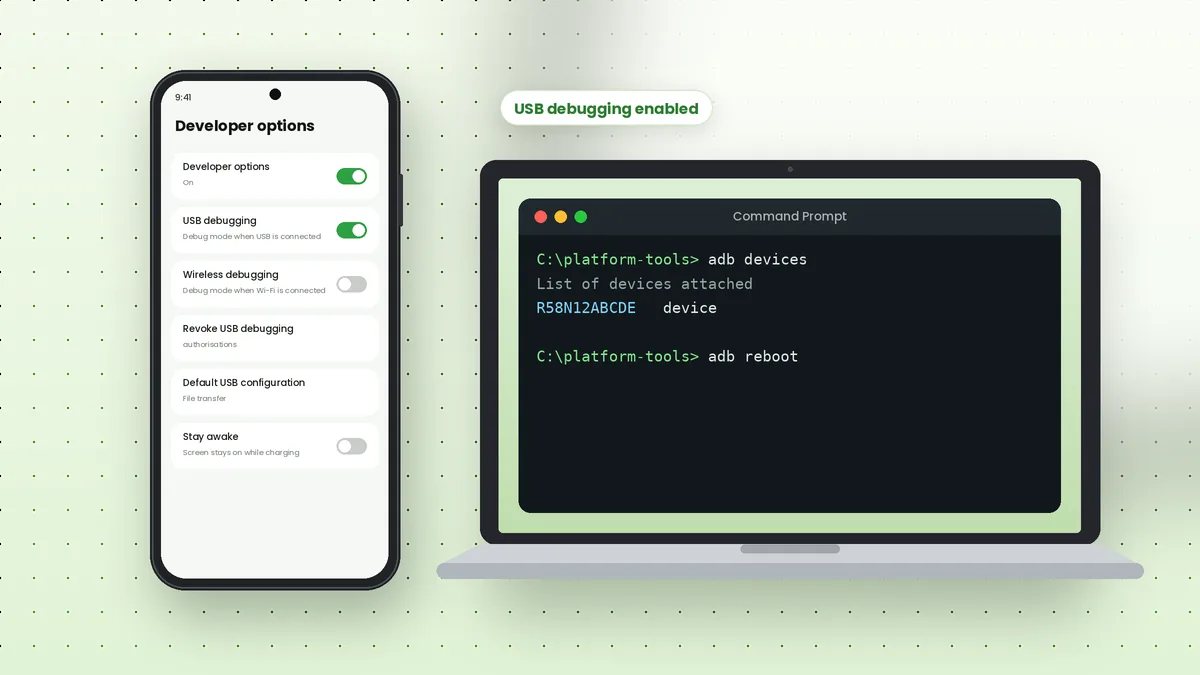
Open Settings, go to About phone and tap Build number seven times until a message confirms that Developer options are on. Return to Settings, open Developer options and switch on USB debugging.
The exact menu path varies slightly between brands. On Samsung phones, Build number sits under About phone and then Software information, as our Samsung setup article explains.
Run Your First Test
Connect the phone, unlock it and open a terminal. Type the command below and watch your phone for an authorisation prompt.
adb devices
Tap Allow on the "Allow USB debugging?" dialog. Running the command again should show your device serial followed by the word device. If it says unauthorized or nothing appears, see why ADB shows device not found.
Command Prompt vs PowerShell
Both terminals work with ADB. The one difference appears when you run ADB from inside the platform-tools folder without PATH set up.
- Command Prompt accepts
adb devicesdirectly in the current folder - PowerShell needs
.\adb deviceswhen the tool is not on PATH - Windows Terminal can host either shell in tabs
Keep Platform-Tools Updated
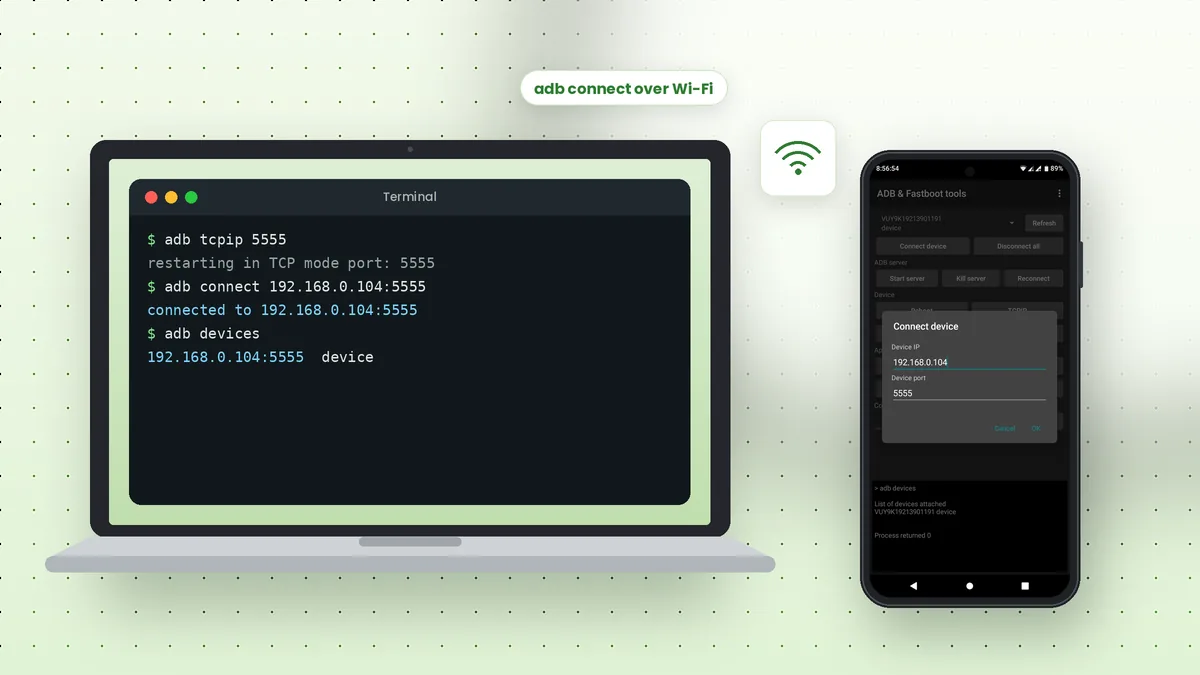
Google updates platform-tools regularly to support new Android releases and fix bugs. An outdated adb.exe may miss newer features, such as the pair command used for wireless debugging on Android 11 and later.
To update, close any terminal running ADB, run adb kill-server, download the latest ZIP and extract it over your existing folder. Your PATH entry stays the same, so nothing else needs changing.
Common Windows Errors and Their Fixes
Most Windows problems fall into a few patterns. The table below links each message to its usual cause.
| Message or symptom | Likely cause | Fix |
|---|---|---|
| adb is not recognised | Folder not on PATH | Add the folder to PATH and reopen the terminal |
| Empty device list | Missing driver or charge-only cable | Install the brand driver and swap the cable |
| unauthorized | Prompt not accepted on the phone | Unlock the phone and tap Allow |
| Device keeps reconnecting | Another app runs its own ADB copy | Close phone suites and other ADB versions |
Check Device Manager
With the phone connected, open Device Manager. A healthy setup shows an entry such as Android Composite ADB Interface. A yellow warning icon or an unknown device means the driver still needs attention.
Fastboot Is Included Too
The same folder contains fastboot.exe, which talks to phones in bootloader mode. You do not need a second download to flash images or unlock a bootloader on supported devices.
adb reboot bootloader
fastboot devices
Fastboot can also need its own driver on Windows, since the bootloader appears as a different USB device. Our ADB vs Fastboot article explains when to use each tool and how to switch between them safely.
Frequently Asked Questions
No. The standalone platform-tools ZIP is enough for ADB and Fastboot. Android Studio is only needed for app development.
Google distributes platform-tools as a ZIP archive. You extract it and optionally add the folder to PATH; no setup wizard is involved.
Download the latest ZIP again and replace the old files in your platform-tools folder. Run adb kill-server first so no file is in use.
The folder is not on PATH, or the terminal was opened before you changed PATH. Reopen the terminal or run the command from inside the folder.
Conclusion
ADB tools download for Windows comes down to one ZIP, one folder, the right driver and a PATH entry. With USB debugging enabled and the computer authorised on your phone, adb devices confirms everything works.
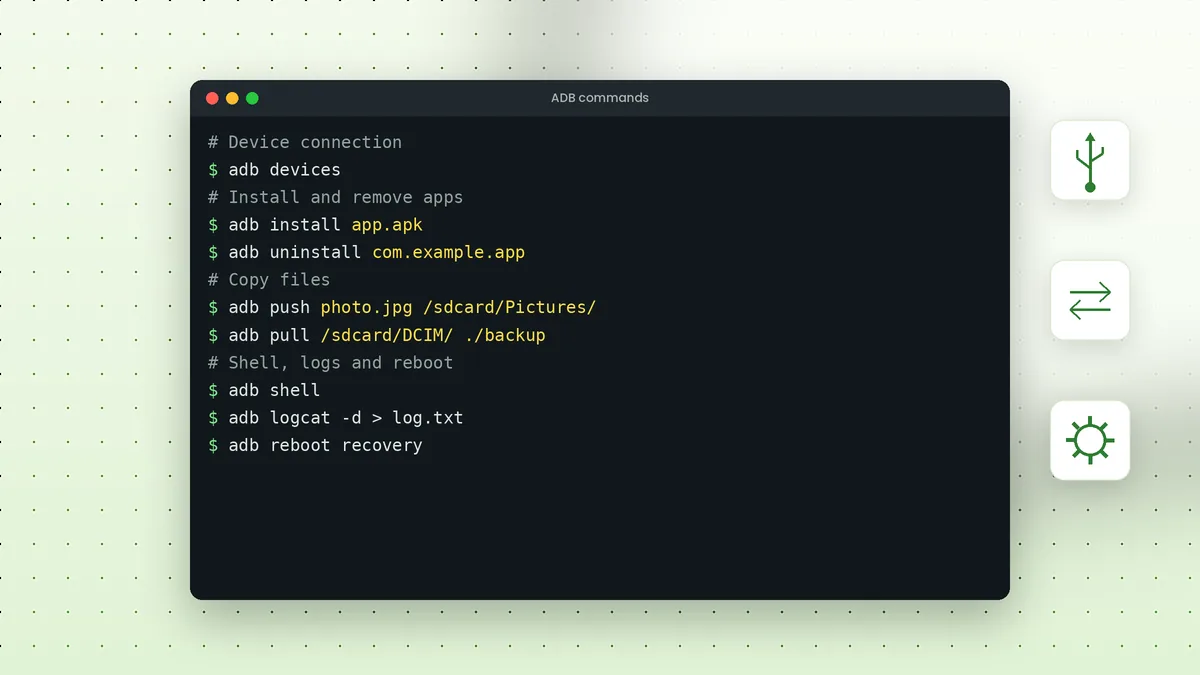
From here, explore the essential ADB commands for installing apps, copying files and reading logs from your Windows PC.
 Adb Tool Samsung: Set Up USB Debugging on Galaxy Phones
 ADB Commands List: Essential Commands with Examples
 How to Use ADB Over Wi-Fi Without a Cable?